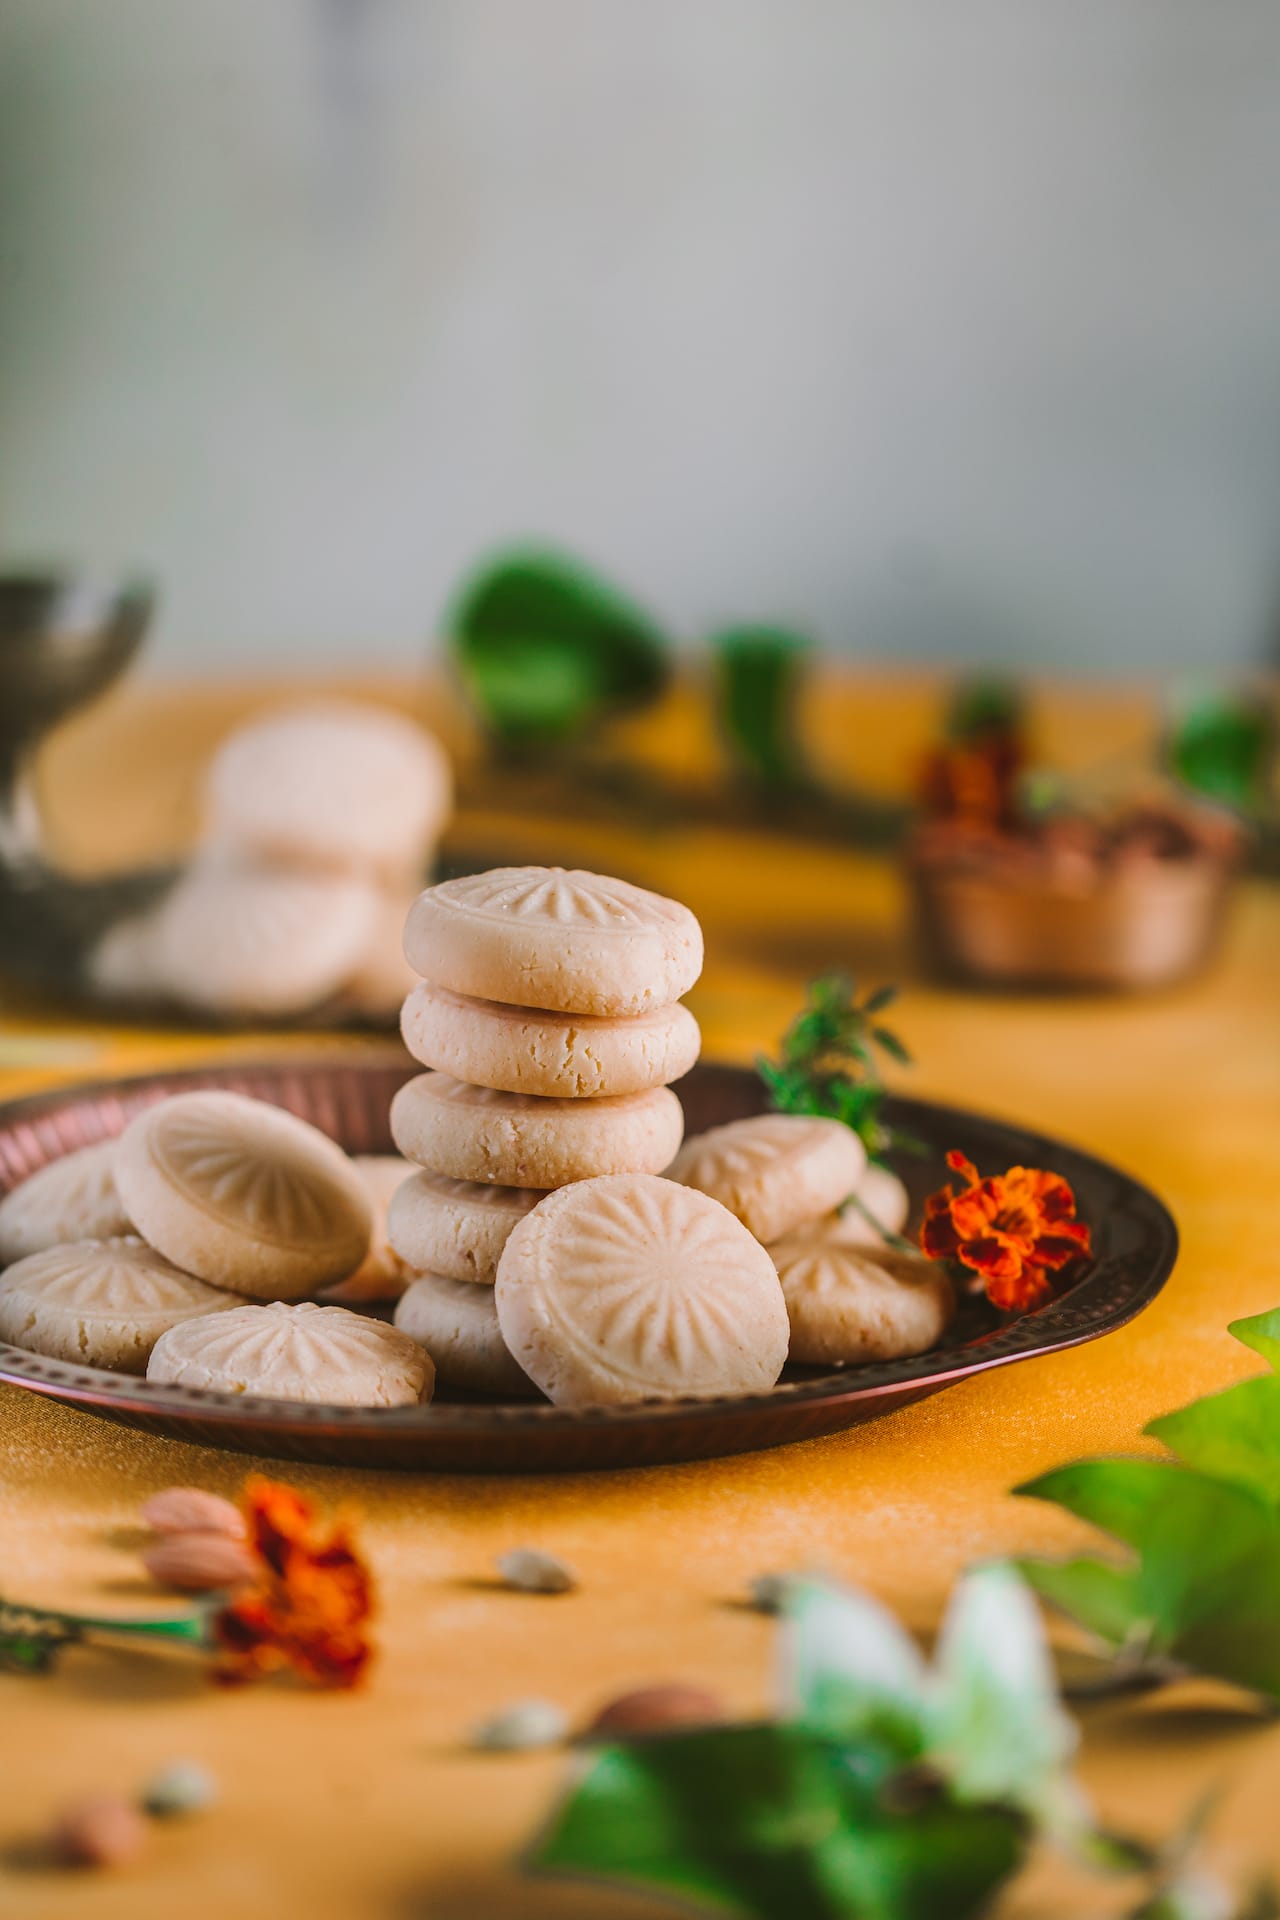
Just 5 ingredients is all you need to prepare this Badam Peda! Super quick and easy dessert for the festive season. There are different ways to make badam peda. The authentic version is a little tedious, but we all can use a little shortcut now and then.
What is Badam Peda?
To break down the name, Badam is almond and peda is a very famous milk based sweet fudge originated from the city of Mathura.
There are various different type of pedas prepared during the Indian festive season and based on your liking you can switch the flavors.
Pedas are rich and fudgy and almost melts in the mouth.
Is Peda similar to Sondesh?
I would say very similar to Bengali Kheer Sondesh
My Mom always make kheer sondesh, and she would make it with homemade khoya/mawa which we call kheer in Bengali. It can be confusing as kheer is referred to rice pudding in North of India.
She would then use the classic sondesh mold to prepare kheerer sondesh. We however don't flavor sondesh with cardamoms.
So yes, mawa peda is very similar to kherer sondesh.

Ingredients you need:
Store bought Mawa/khoya - You can use homemade too.
Almond Flour - I used store bought almond flour but if you can't find that you can soak almonds in water, peel the skin off and then grind it smooth.
Sugar - I used white sugar, but you can use coconut sugar, brown sugar or even jaggery.
You have to keep in mind that if you add jaggery, it will melt and the cooking time will increase to form the dough.
Ghee - Just how butter makes everything better in cookies and cake, ghee makes everything better in Indian sweets. You can use store bought or homemade ghee.
Cardamom - It gives the beautiful aroma, but you can definitely discard if you don't have cardamom. You can also substitute it with rose or orange essence.
Salt - A pinch is all you need, and it helps to enhance the flavor. So definitely don't skip the salt.
Key steps to remember
As you cook the mawa/khoya with almond, you have to constantly stir around to avoid it from getting burnt at the bottom of the pan.
You have to cook until the dough comes together in such a way that it doesn't stick to the pan. If the dough remains too soft, then it will not hold shape.
Remember to shape the badam peda while it's still slightly warm. You cannot let it cook down completely.
How to test if the dough is ready?
As you stir around and the dough starts to come together, switch off the heat and take a tiny amount of the dough. It will be hot, so be careful or let it cool down just a little until you can hold it without burning your finger.
Take the tiny portion and roll it around, if the shape forms, and it doesn't stick to your hand, then it's ready.

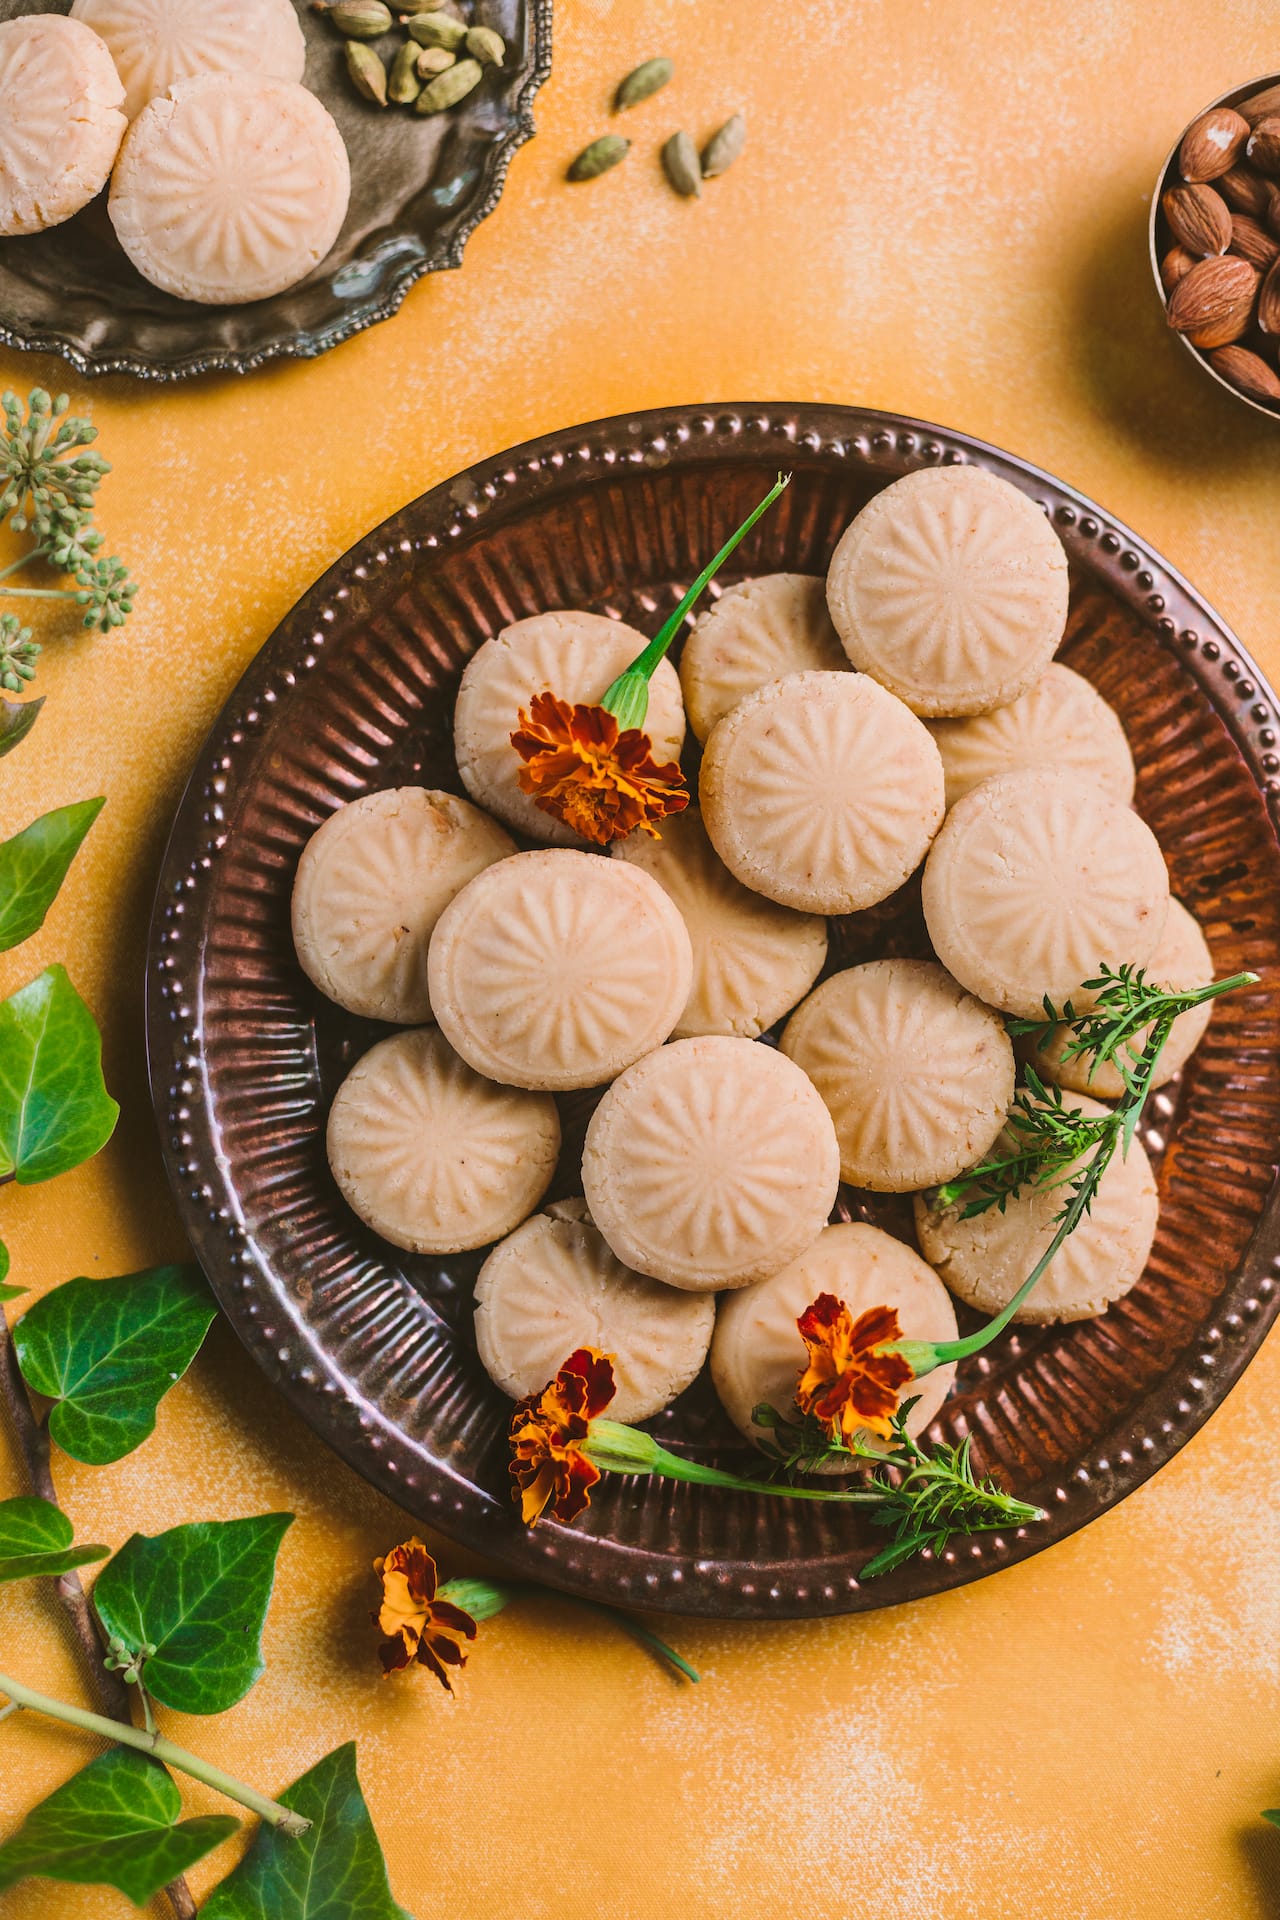
Shaping the Badam Peda
Once the dough is ready, transfer it to a plate and spread it around, so it cools down faster. You cannot let it cool down completely, as you have to shape the pedas while it's still warm.
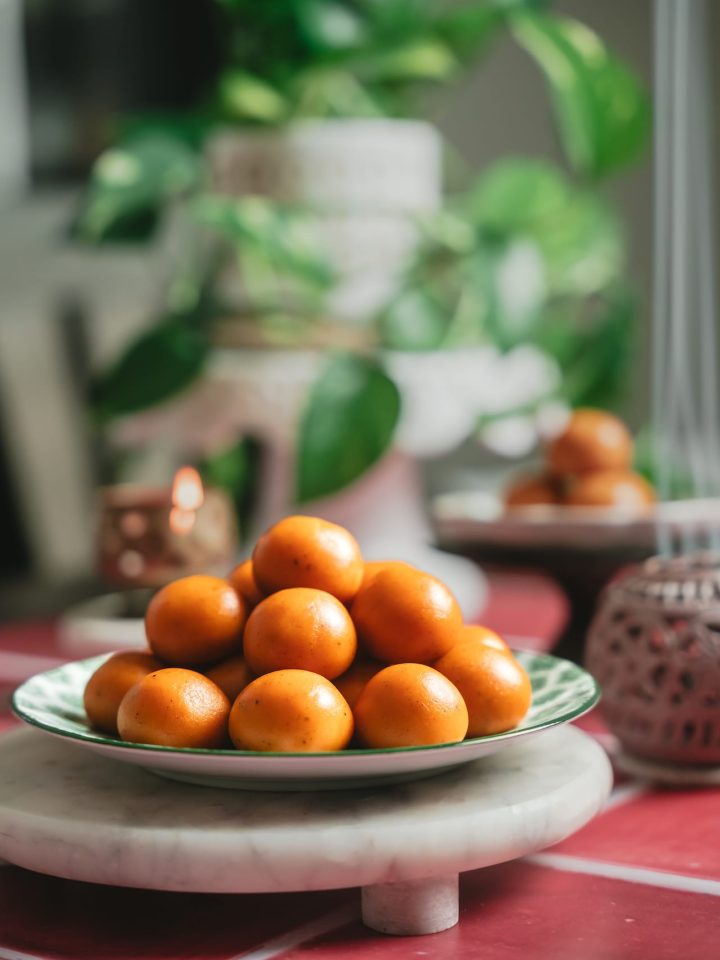
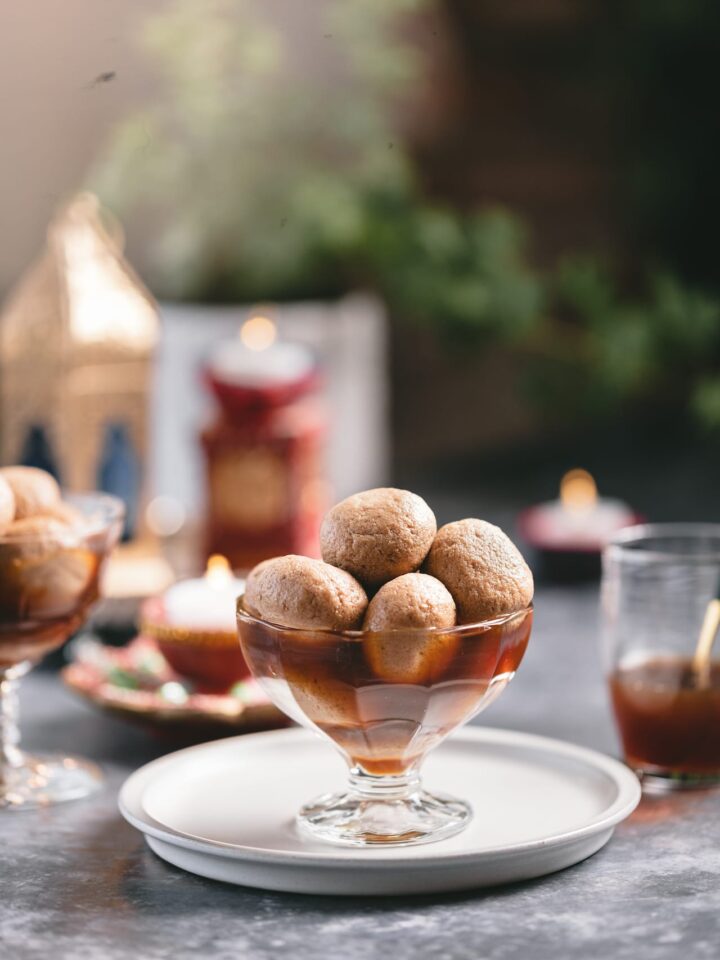
Traditionally, pedas are shape with hand into a rough round ball and pressed gently in the center, which is then filled with nuts or dry rose petals or left blank.
I shaped it into a ball and then pressed gently with the back of a glass that has a pretty design.
Once you shape the Badam peda, it will be soft, and you have to leave it aside to cool down.
Having said that, you can definitely shape the pedas by setting it in a square container and slice it into bite size squares, just how I do for milk barfi
Notes on Storing the Pedas
Store in an airtight container. Depending on how hot the weather is where you live, keep the container at room temperature or store in the fridge.
Because we cook the solid milk to the extent where there is not a lot of moisture left, the pedas stays fresh longer.
These fudgy Almond Peda are a treat, and it's not overly sweet either. I hope you will give this a try this festive season.
Yes! You have to grind the nuts to very fine powder before you add with solid milk.
You have to cook until the mixture comes together like a soft dough and doesn't stick to the pan any longer. You have to take a tiny portion and make a ball. If it forms the shape without sticking to your finger, it is ready to shape.
You can use a glass with some pretty design at the bottom that you can use to press gently. You can use a cookie press too.

Badam Peda
Ingredients
- 1 cup grated khoya/ mawa
- 1 cup ground almond
- ½ cup sugar
- ¼ cup milk
- ¼ cup ghee
- ½ teaspoon cardamom powder
- pinch of salt
Instructions
- In a heavy bottom skillet at medium heat, add the grated khoya and milk. Keep stirring until it the khoya turns into a smooth texture.
- Add the sugar, ground almond and ghee and keep stirring until it all comes together into a dough that doesn't stick to the pan. It should take roughly 15 minutes. Do not increase the heat and do not leave the skillet unattended. You have to stir constantly or else it will get burnt at the bottom.
- To test if the dough is ready, switch off the heat and take a tiny amount of the dough on a plate. Give a few minutes for it to cool down, so you can handle it comfortably. Try to shape the dough into a ball. If it forms the shape and doesn't stick to your finger, the dough is ready.
- Take the dough to a plate and spread it out to cool off slightly, so you can handle it to shape the pedas.
- Take a small portion as per your liking and press it between your palm to smoothen the texture and shape it into a ball. Then, if you are using any design like a cookie presser or back of a glass, press it down gently. Or you could just press it gently and tiny dent in the center with your thumb. If you like, you could add an almond or chopped almond in the dent to create some design.
- Leave the peda aside for an hour to cool it off completely, after which the shape will retain, and it will not feel too soft anymore.
- Store the completely cooled peda in a clean airtight jar.
Notes
Storing Pedas
Store in an airtight container. Depending on how hot the weather is where you live, keep the container at room temperature or store in the fridge. Because we cook the solid milk to the extent where there is not a lot of moisture left, the pedas stays fresh longer.Nutrition